Find the remote starter wiring diagram you need to install your car starter and save time. If you can read a wiring diagram are patient enough to use a test light before you connect wires and are willing to take the time to make really good splices you can install a remote starter yourself and save about 125.

Step 3 Locating And Identifying Wiring Remote Start Installs
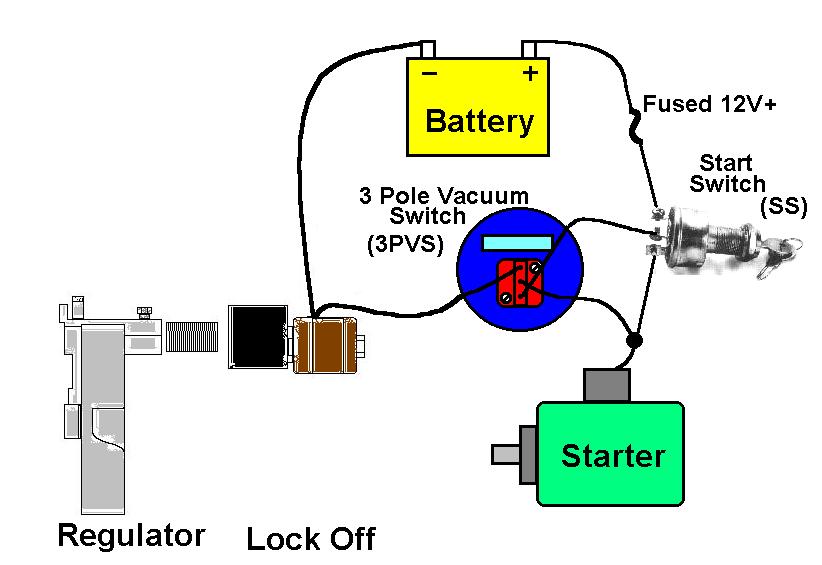
How to wire remote start. Scroll down and find the car start wire guide you need. This is the first and easiest the find. Next reconnect the factory wire by inserting the other end into the open end of the butt connector and crimp. Every remote start wiring diagram contains information from other people who own the same. Place the other alligator clamp of the switch on the small connector of the starter relay. Depress the remote starter switch.
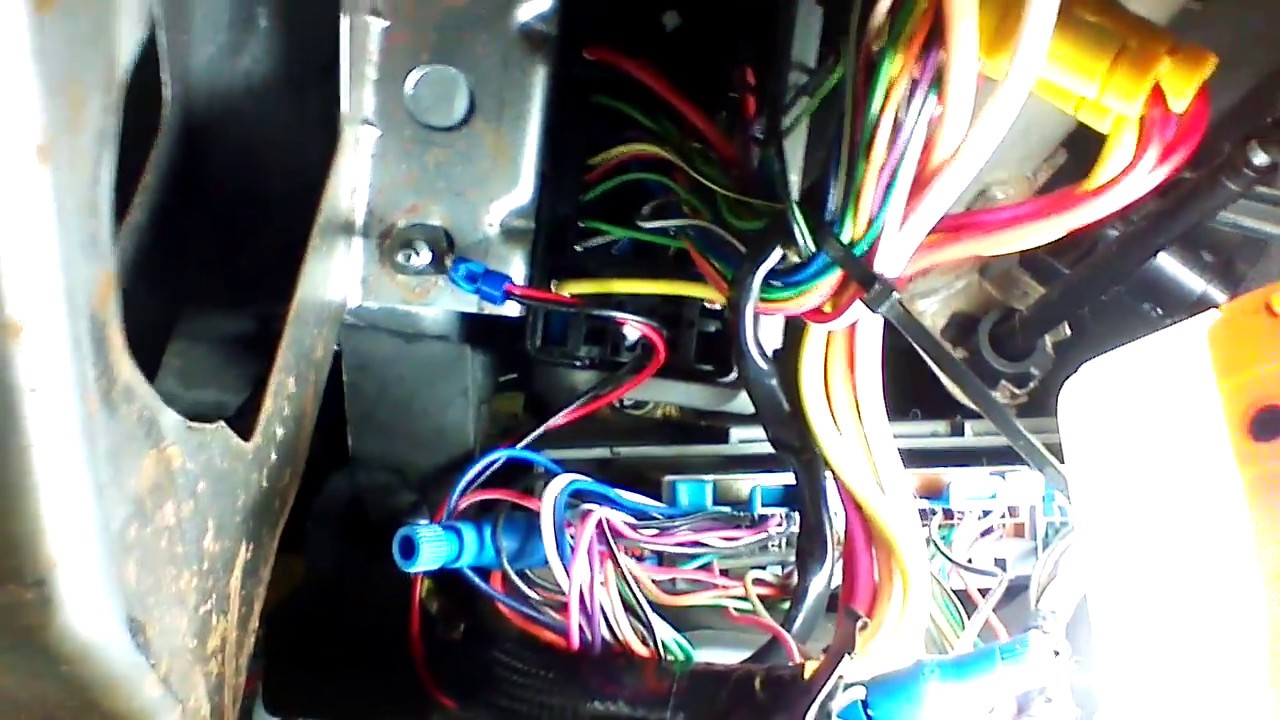
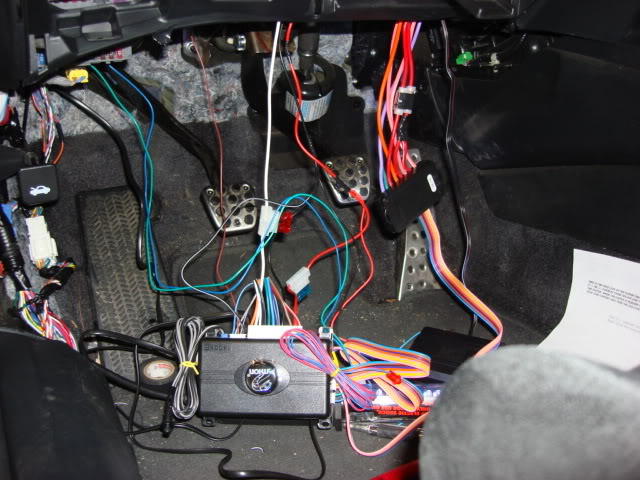
Loose wires can cause. Use a screwdriver to remove the panel covering the underside of. Having a remote start wiring diagram makes installing a remote starter easy. In this car it is the red and orange wires in the middle of the connector jack to the key switch. These 6 wires will be connected to the remote start relay module. The engine should now be cranking but not running.
The key switch has a connector jack with 3 pairs of lugs. Remove the panel covering under the steering wheel. Connect the ground wire. Wiring the remote starter 1. The contacts of the starter relay will then be turning over or cranking the starter. Use a t tap connector or cut the factory wire to splice into the wire by twisting the remote turn on wire together with one end of the factory wire then crimp on a butt connector.
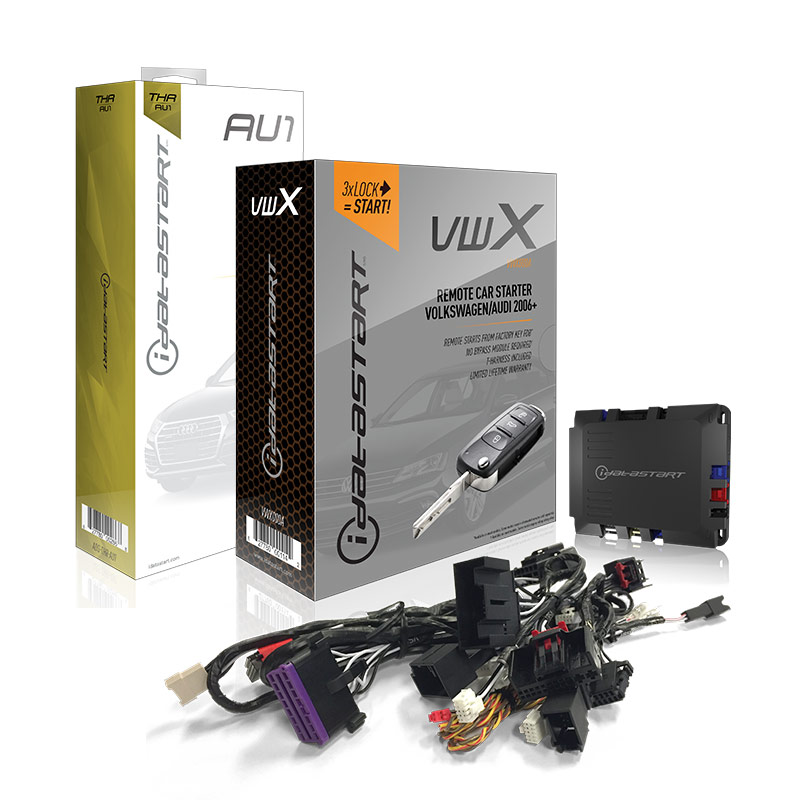
It is very important that you securely connect all your wires. Connect all your wires properly. If your vehicle has an antitheft system make sure the remote start unit includes all the necessary components. The constant 12volt will always have voltage on it.
Gallery of How To Wire Remote Start