For information on how to calibrate and use your stanley stud sensor please watch this video httpyoutubeqinszvd9wpe the stanley stud sensor 100 feature. For digital copies of the stud sensor man.

Stanley Stud Finder
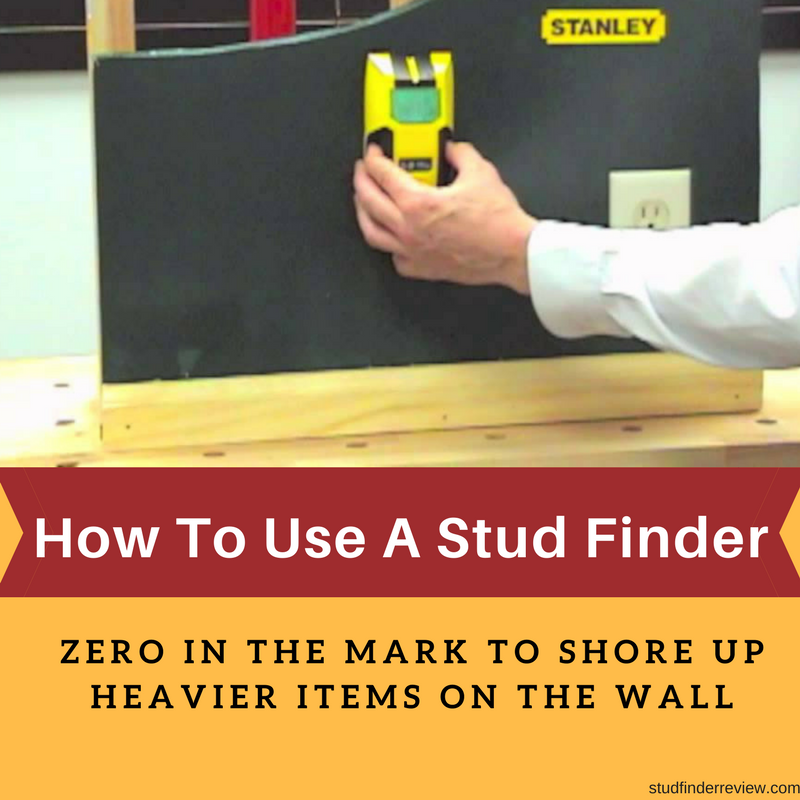
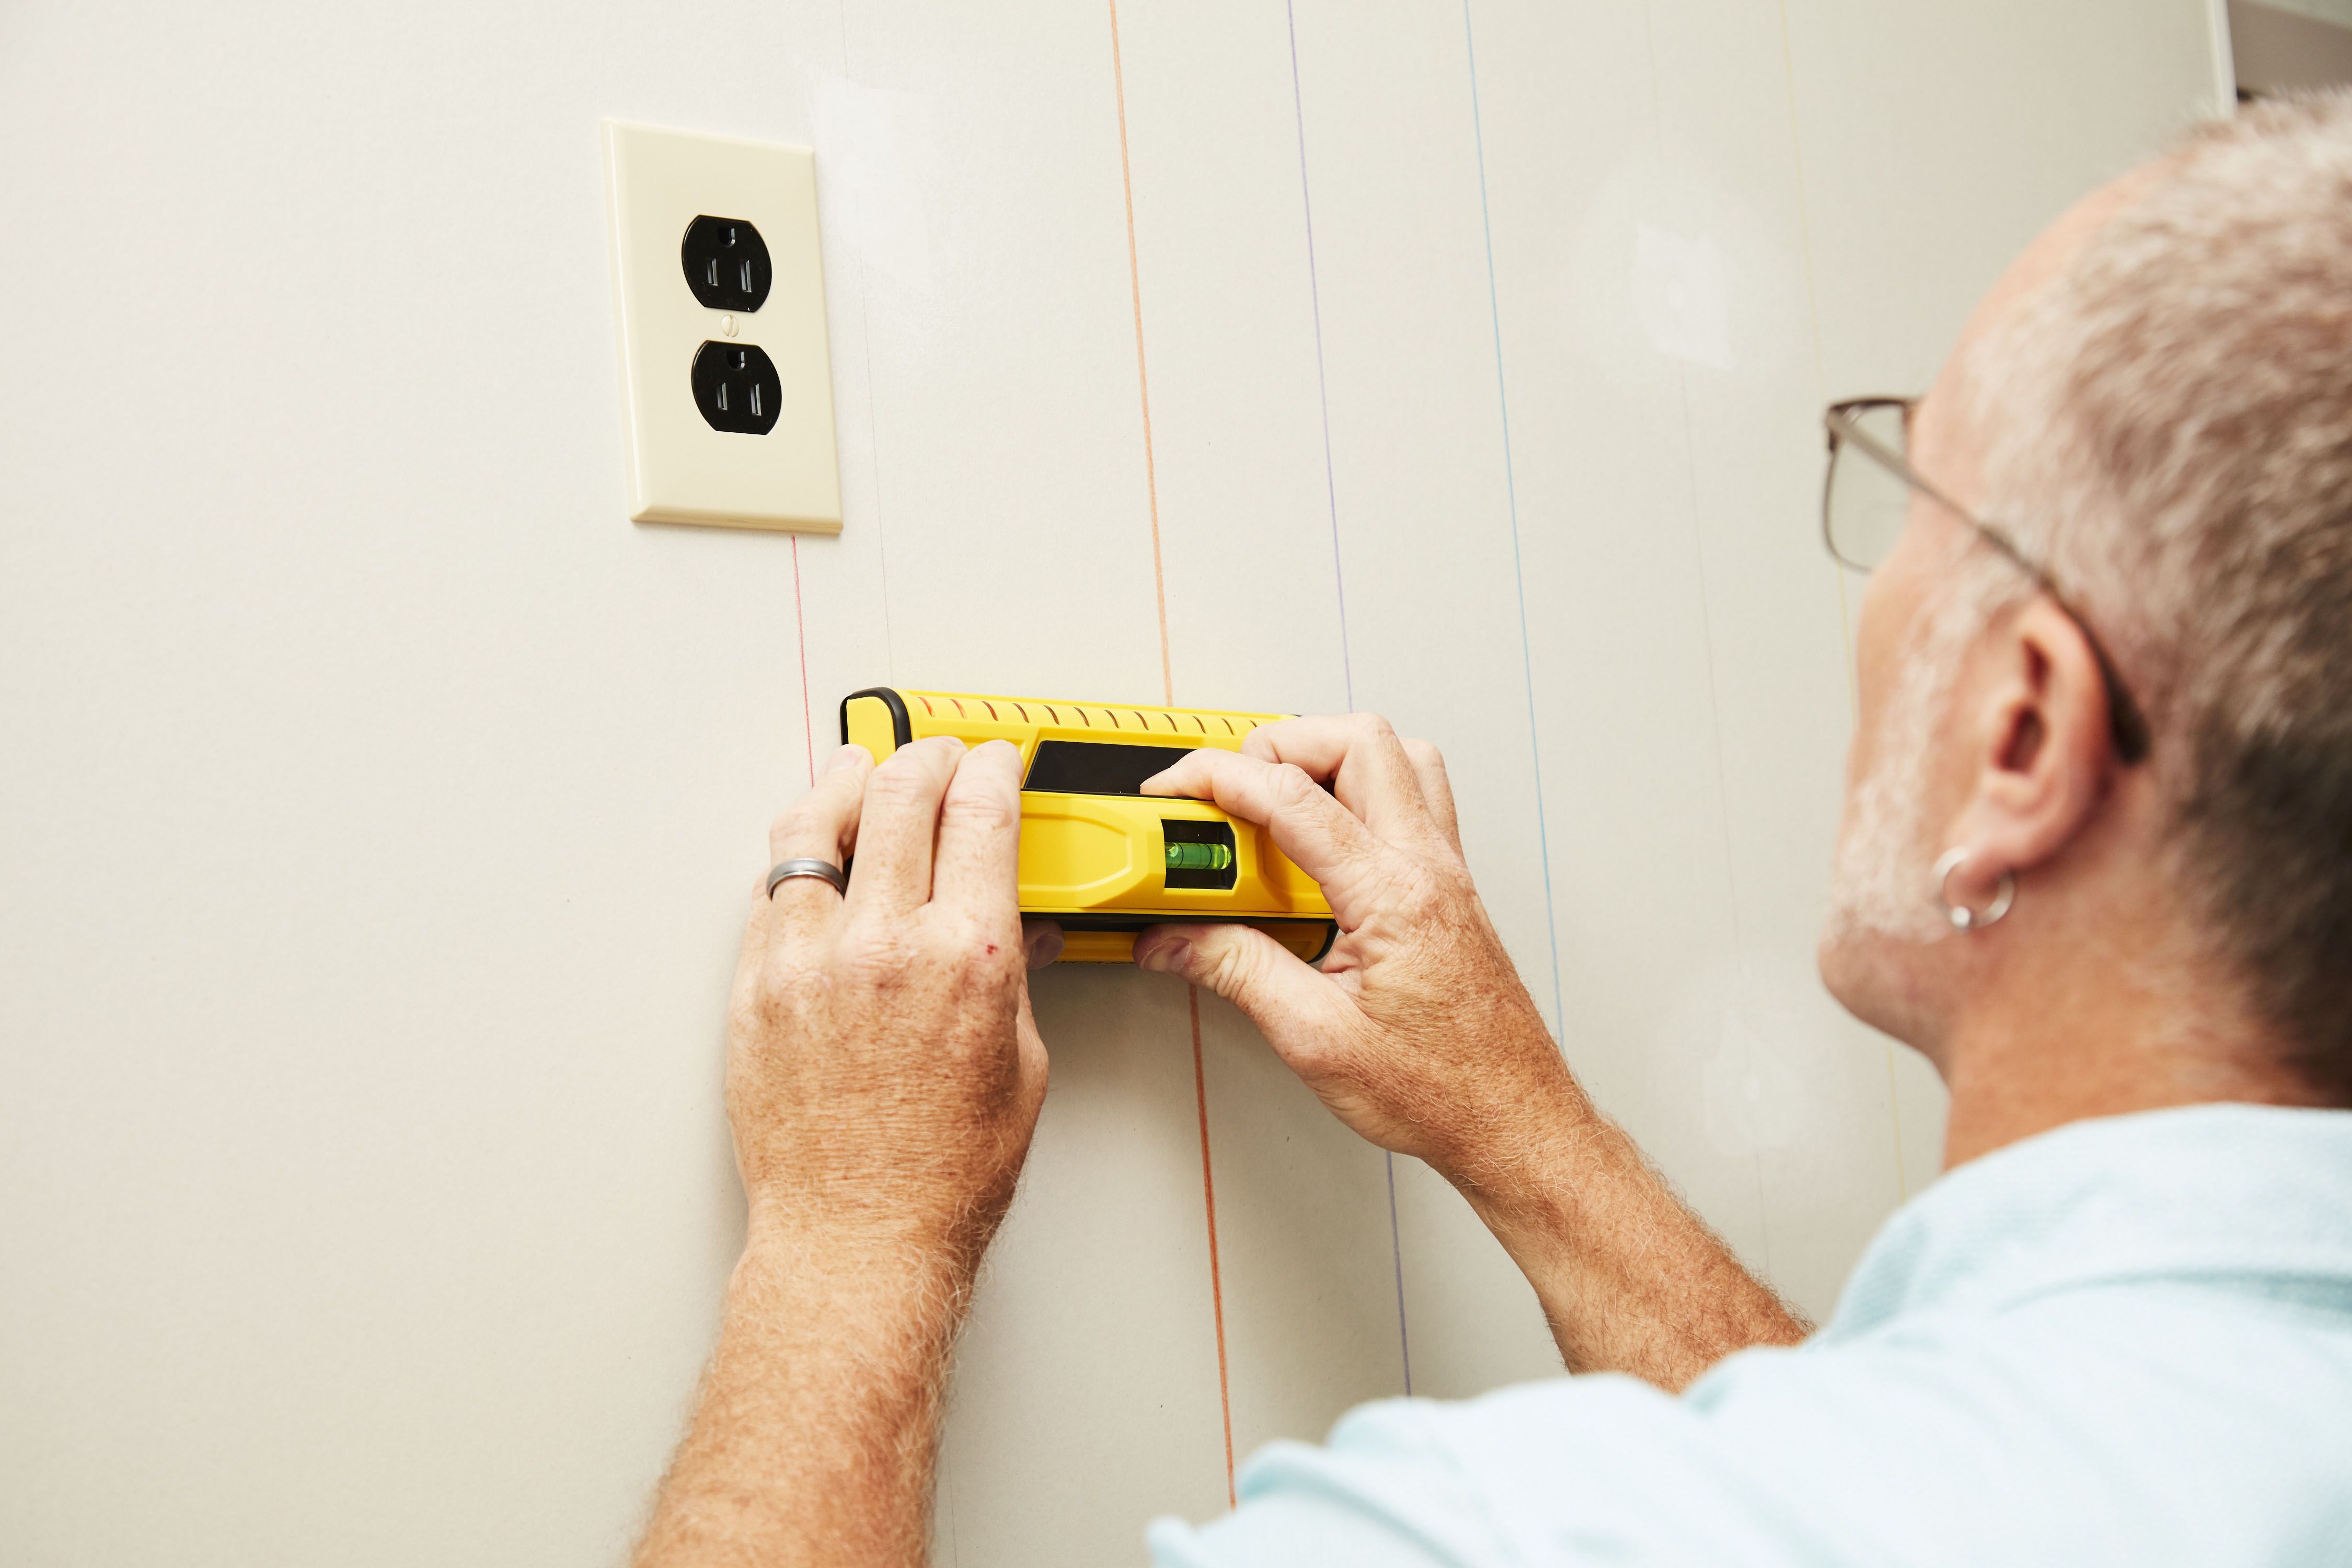
How to use a stud finder stanley. I show how to use the most common type of stud finder. Stanley layout tools product manager spencer maheu reviews how to calibrate and use your new stanley stud sensor. Studs are typically either 16 or 24 inches apart so youll be looking for a stud somewhere within a two foot span. It projects laser lines up to 20 ft. Onto a work surface and is mountable for hands free operation. Hold your stud finder flat against the wall about 1 foot left of where you.
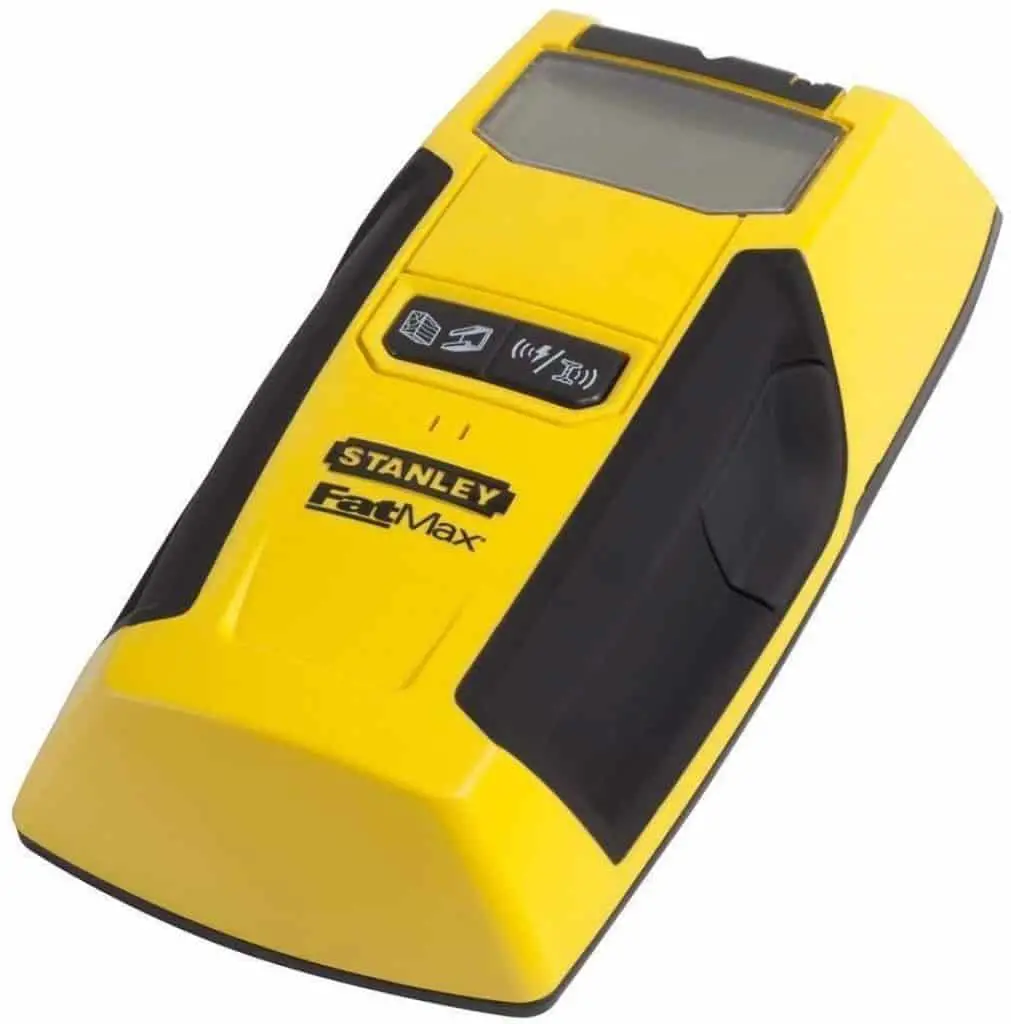
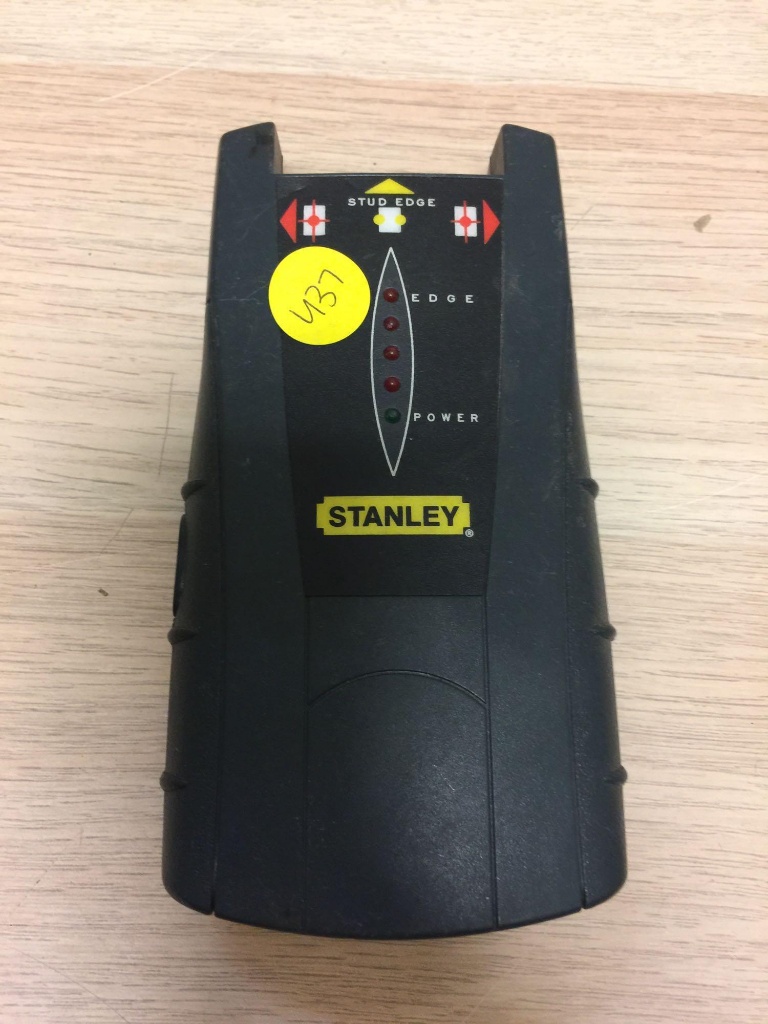
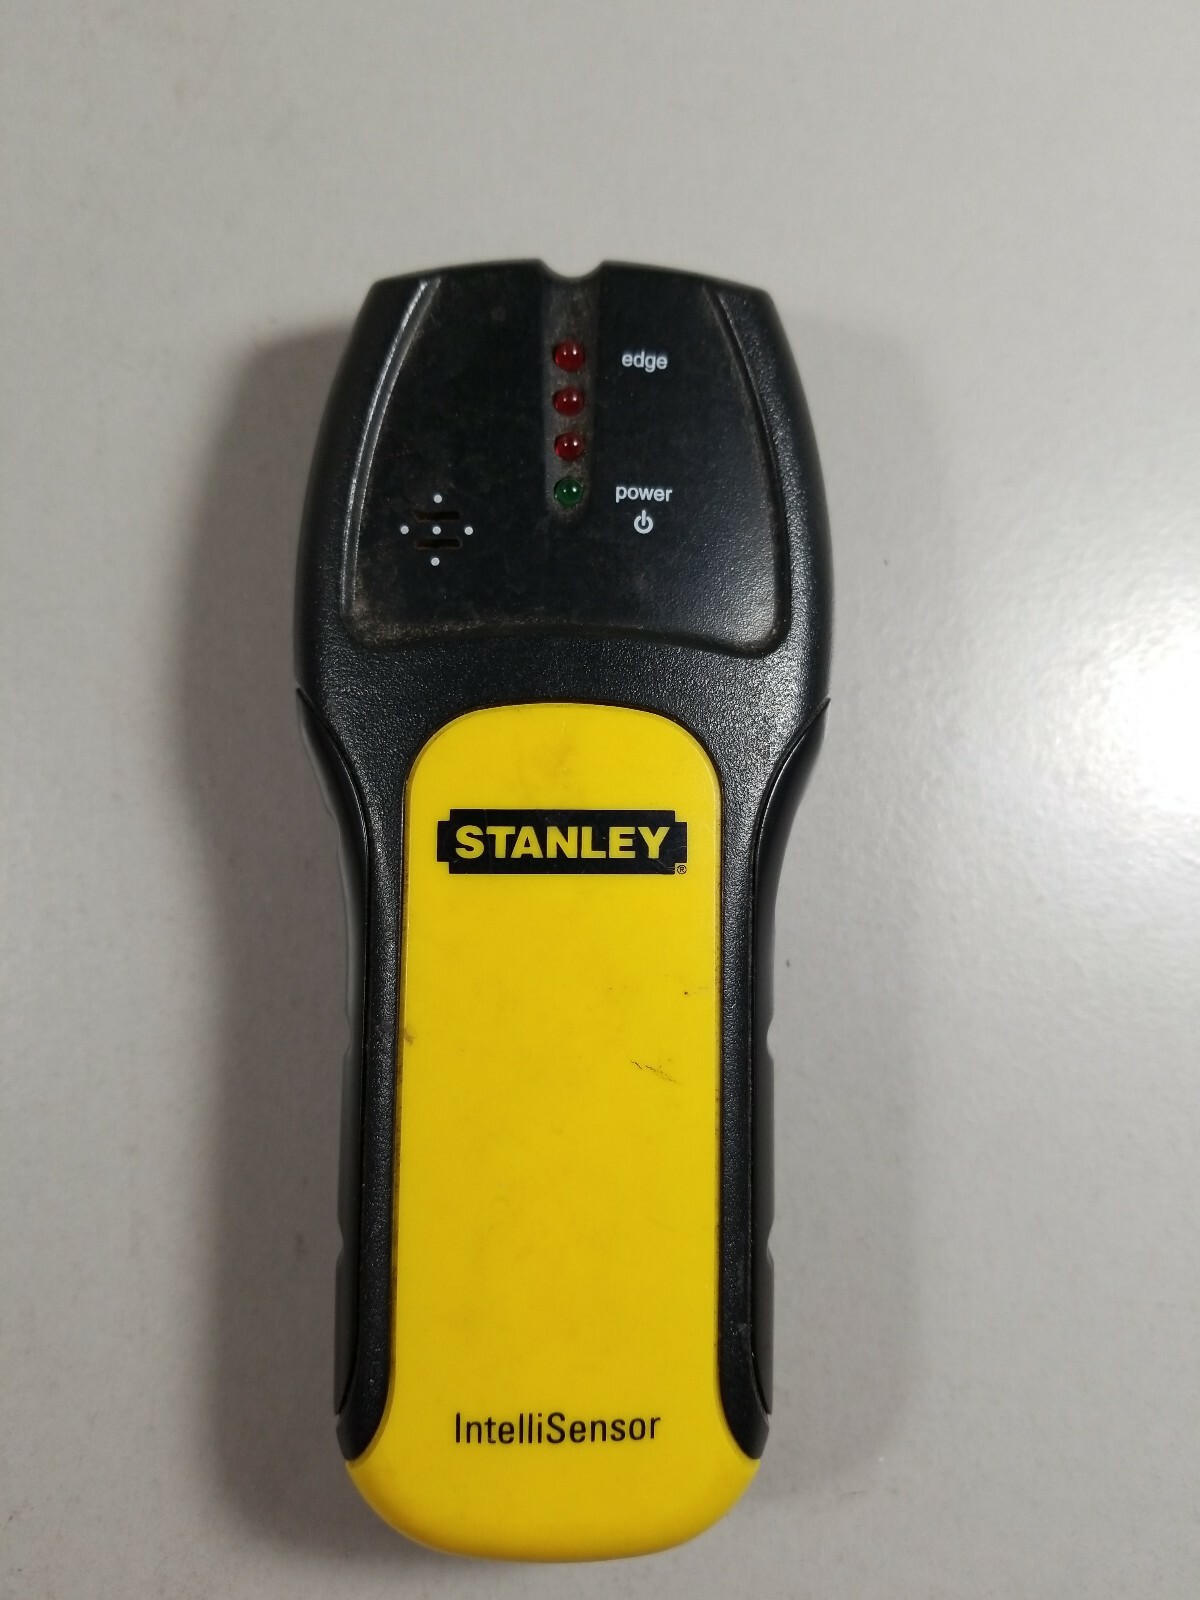
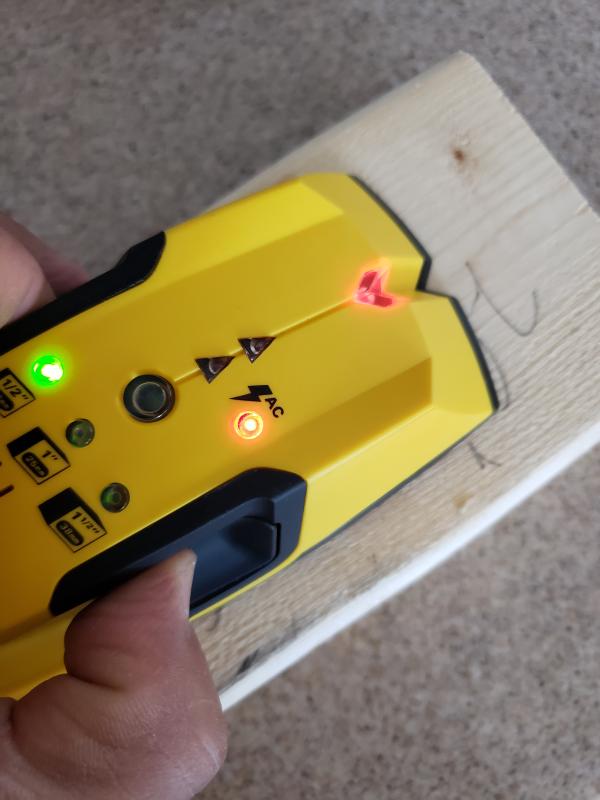
The stanley stud sensor 150 detects studs up to 1 12 inches below surface material. Hold the tool at the height where you. This ergonomically designed wood and metal stud finder with ac detection indicates what it is sensing below the surface with sequential leds and audible beeps. With a sturdy design this stud finder indicates when it senses a wood or metal stud below the wall surface with sequential leds marking both the edges and center of studs with accuracy up to 18 for wood and 14 for metal. Slide the stud. Most stud finders are.
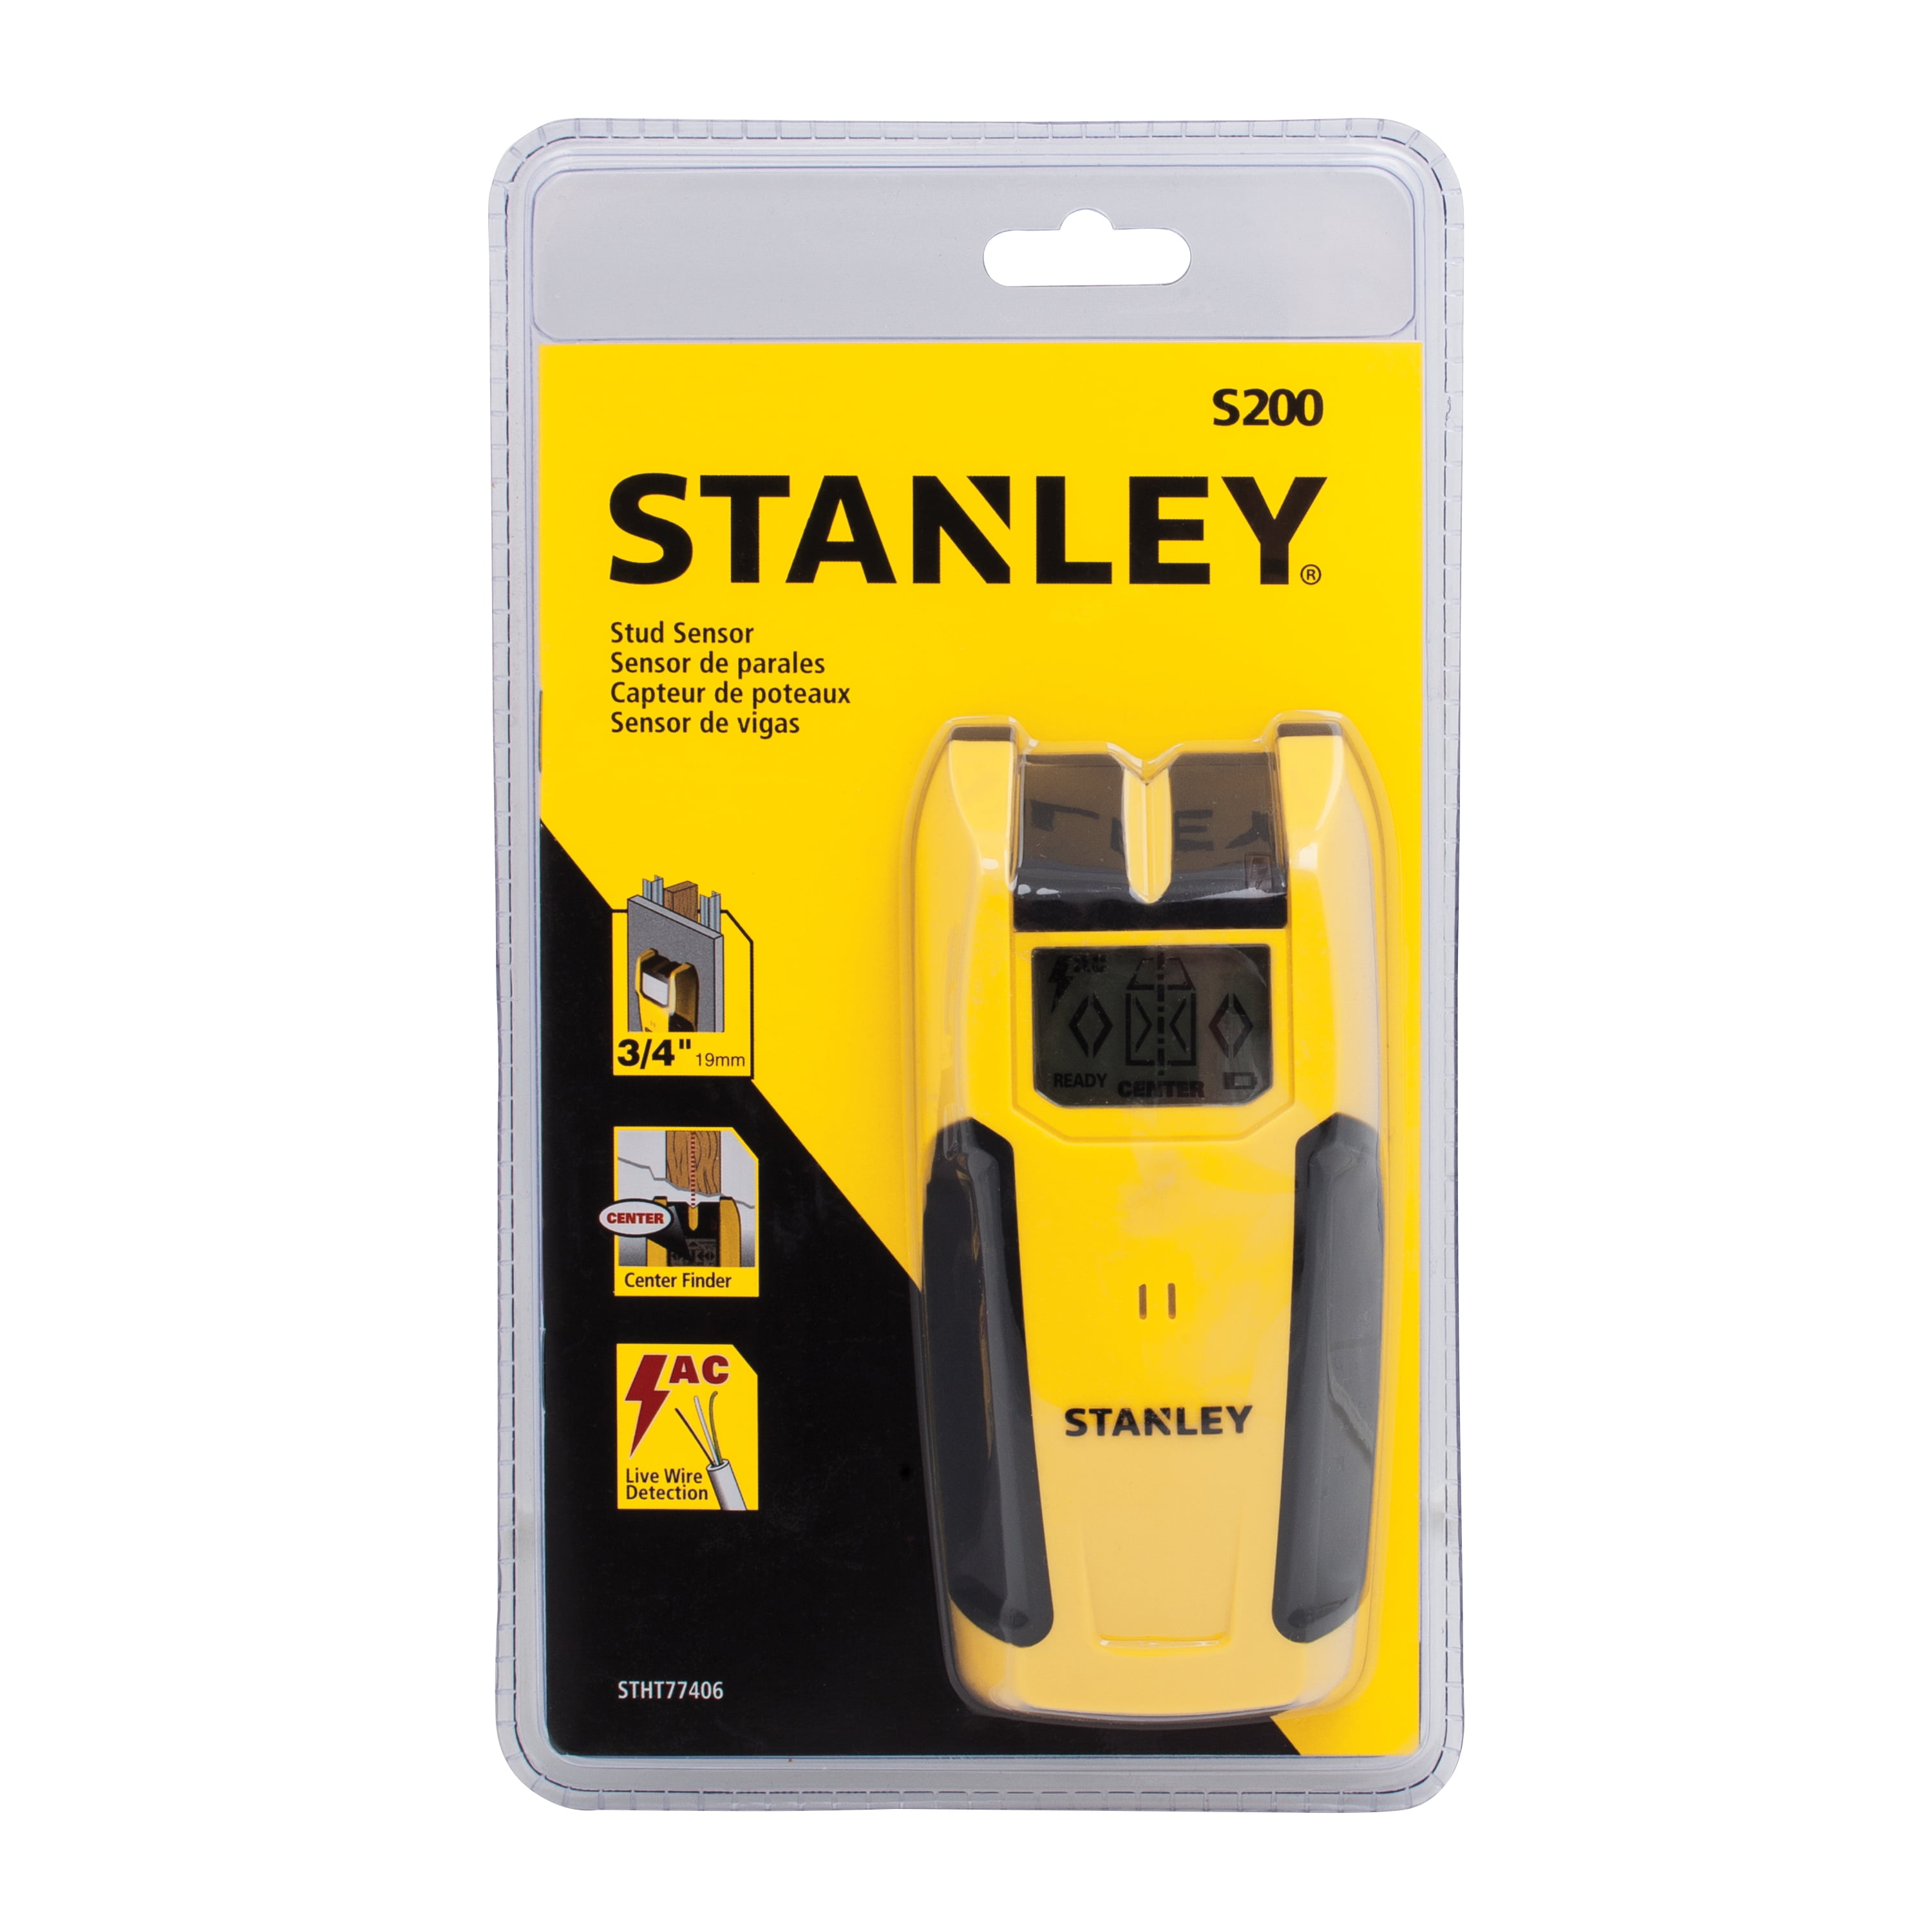
How to use a stanley stud finder step 1. Turn on the stud finder. The s50 stud finder detects wood and metal studs up to three quarters of an inch below surface material and features auto calibrating ac detection. The stud finder is sensing the density of the surface below it and letting you know when you run into a stud or joist. Stanley stud sensor 150 stud finder please subscribe for more video. Place the stud finder against the wall where you are looking for a stud.
Your stanley stud finder is powered by a 9 volt battery. The stanley intellilaser pro stud sensor and laser line level detects wood and metal studs through 12 in 1 in and 1 12 in. When you turn it on a green.
Gallery of How To Use A Stud Finder Stanley